





Recovery Points & D-Rings
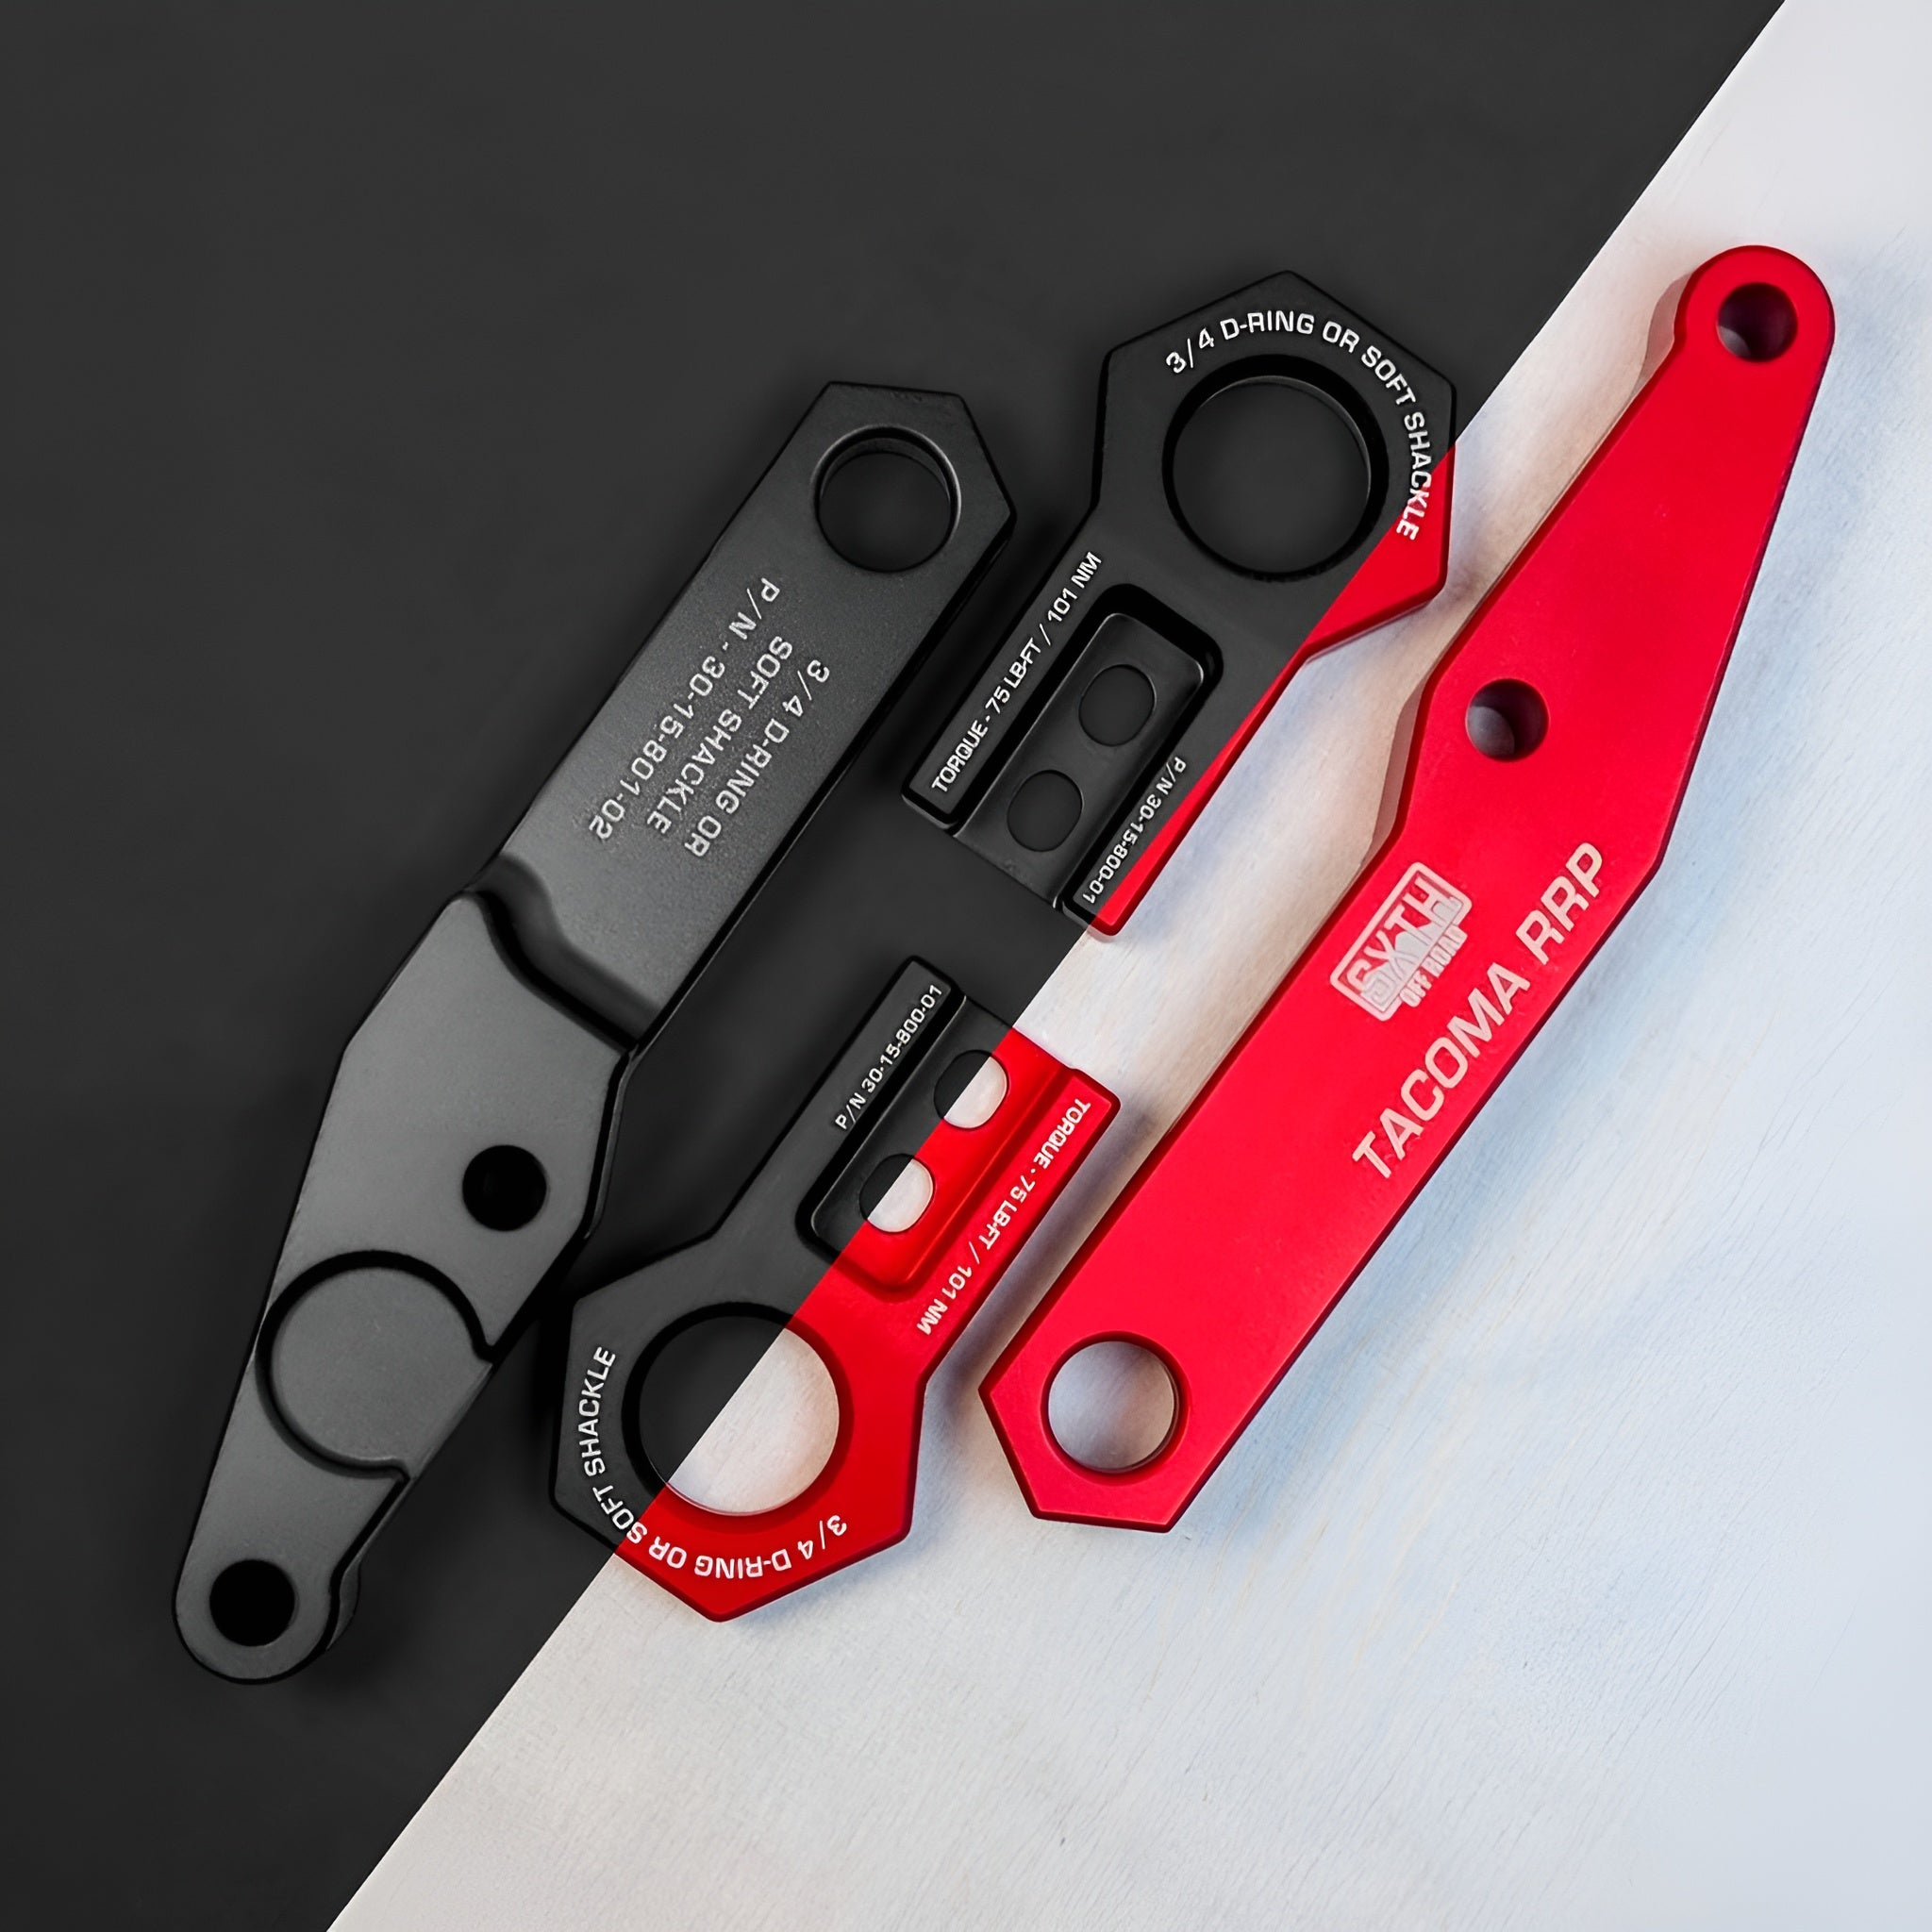
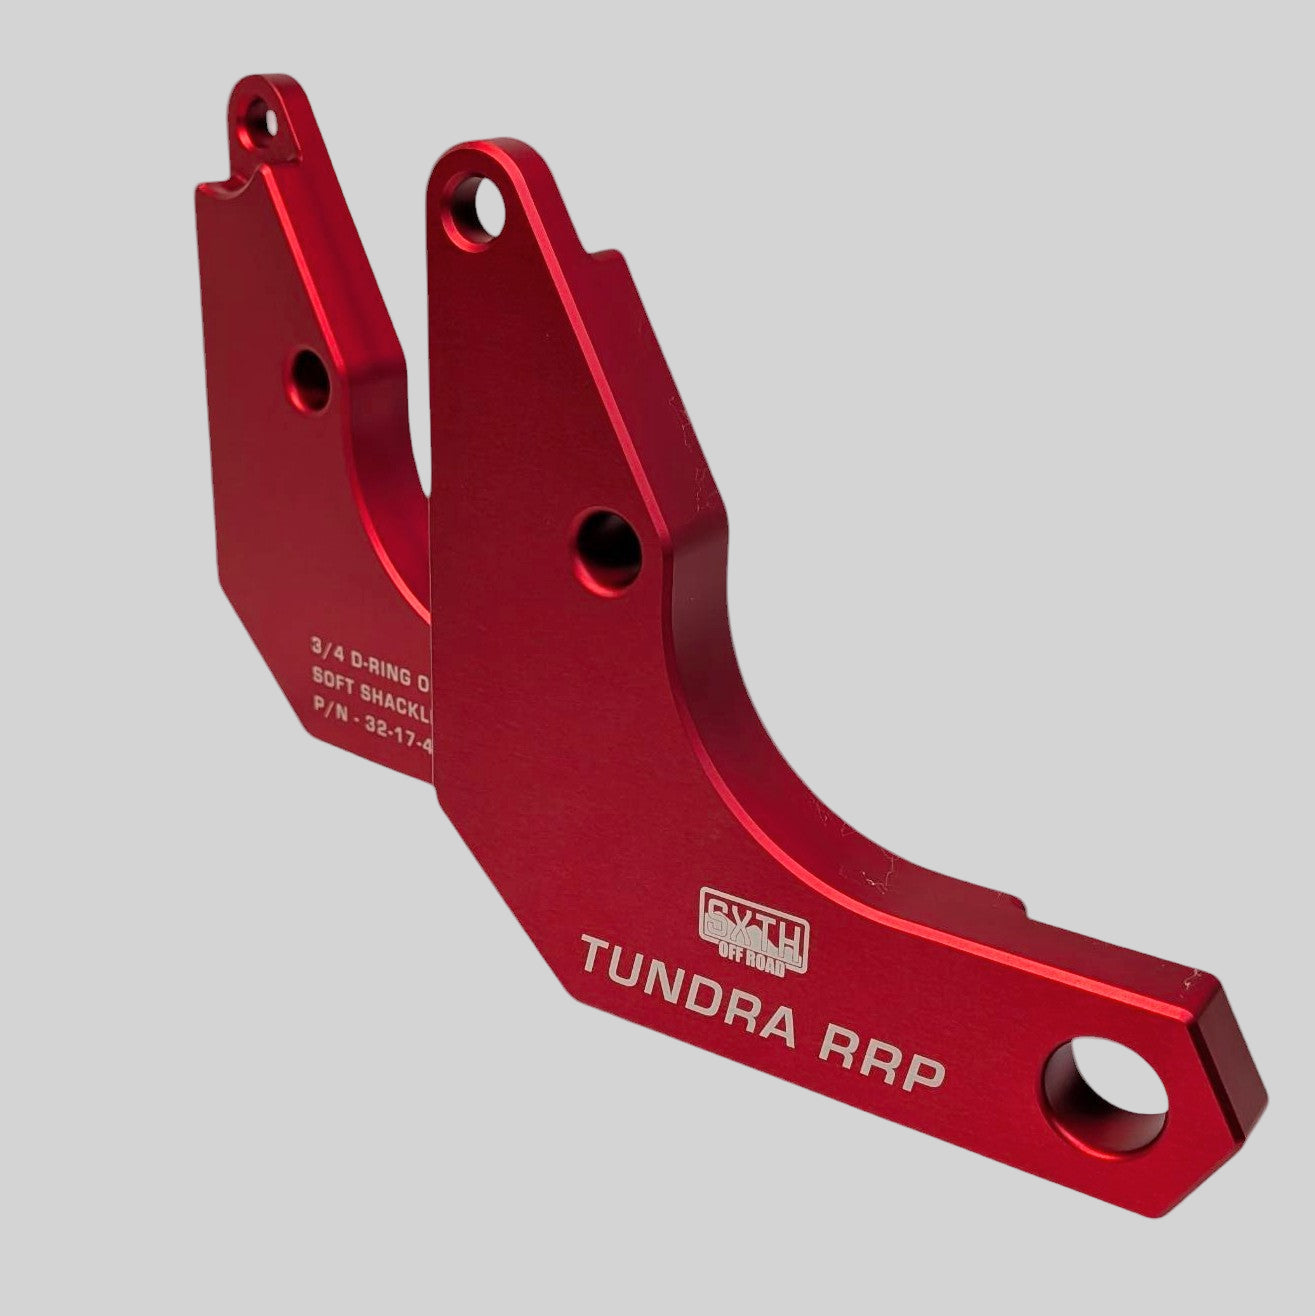
The strongest strap in the world is only as good as the steel it's hooked to. This collection covers rated recovery points and D-ring mounts — the hardware that gives a kinetic pull or winch line somewhere honest to attach on your truck. Most bolt to the frame or integrate with aftermarket bumpers, and every listing filters by year, make, and model so the holes line up before the box arrives. If your setup is unusual, ask first.




Recovery Points & D-Rings FAQs
How can I tell if a recovery point is actually rated?
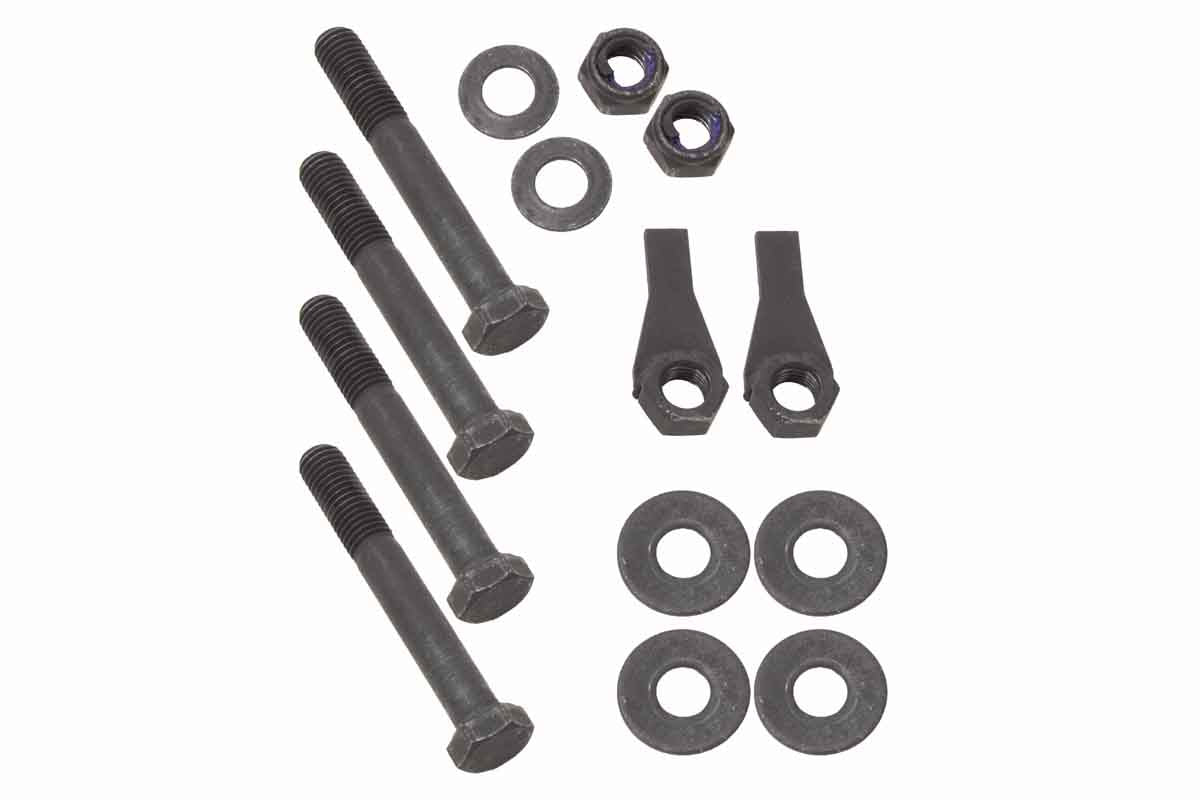
It states a rating — a working load limit or minimum breaking strength published by the maker — and mounts to the frame with graded hardware. No published number means you should treat it as a tie-down, not a recovery point. Cast hooks, thin tabs, and anything attached to bodywork or bumper skin alone don't belong in a kinetic pull, however sturdy they look.
Should recovery points be installed in pairs?
Where the vehicle allows it, yes. Two points let you run a bridle strap, splitting the load between both frame rails and keeping the pull straight when the truck isn't. A pair also gives you options when one side is buried, damaged, or blocked. Plenty of single-point recoveries happen safely — but rigging choices are luxuries you only get if the hardware is already bolted on.
What size shackle fits these D-ring mounts?
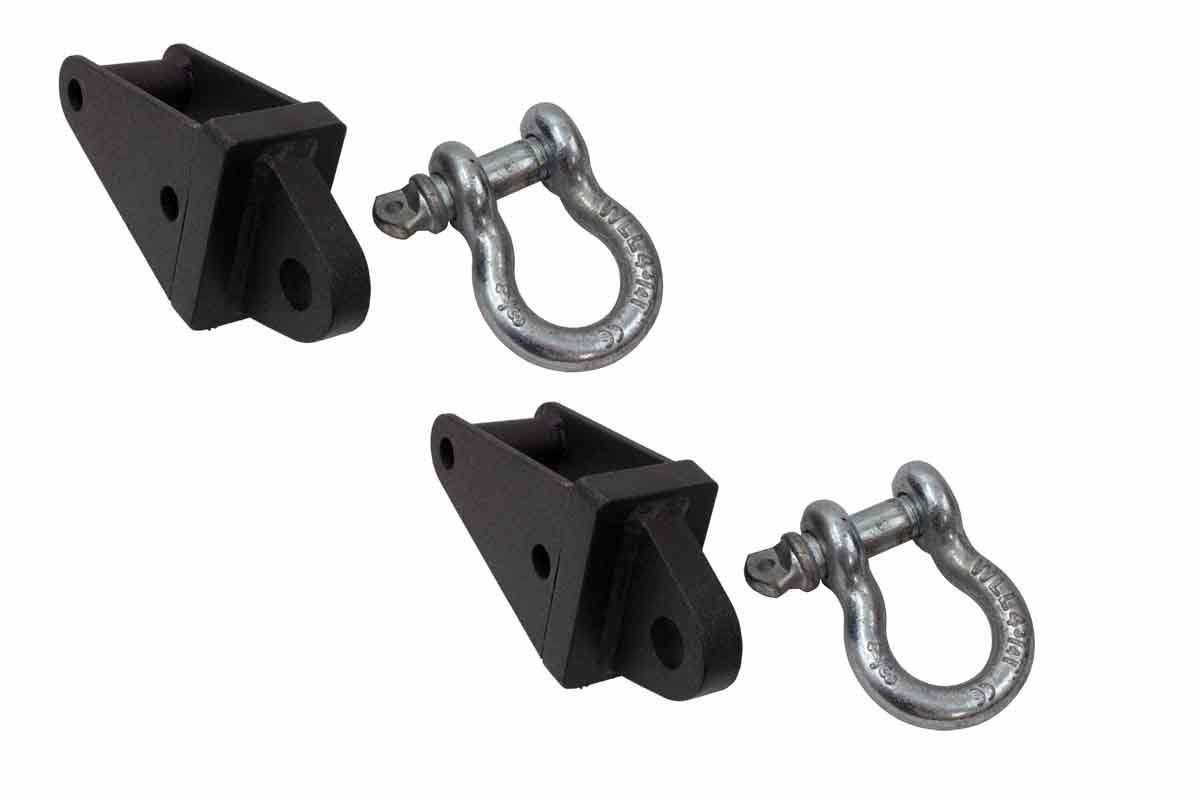
Check the pin bore on each mount's listing — that's the number that decides it. Three-quarter-inch bow shackles are the common trail standard, but the listing, not habit, should make the call. Whatever the size, the shackle's rating needs to match or exceed the rest of the rigging, since every pound of the pull routes through that single pin.
How much force does a recovery point actually see?
In a kinetic recovery, peak loads routinely spike to two or three times the stuck vehicle's weight — momentum multiplies force fast. That's the whole case for rated hardware: a loop that holds a parked truck on a trailer can let go violently under a spike like that. Size every component in the chain, points included, against those peak numbers rather than curb weight.
Soft shackles or steel D-rings for connecting to recovery points?
Both work on properly sized rated points; the tradeoffs are handling and durability. Soft shackles are light, easy on painted surfaces, and far less dangerous if something fails — but they abrade on sharp-edged mounts and rocky ground. Steel bow shackles shrug off abuse for decades and cost little; they're just heavy and unforgiving when dropped or launched. Many of us carry both and rig whichever the mount's edges favor.
