





Antenna Mounts
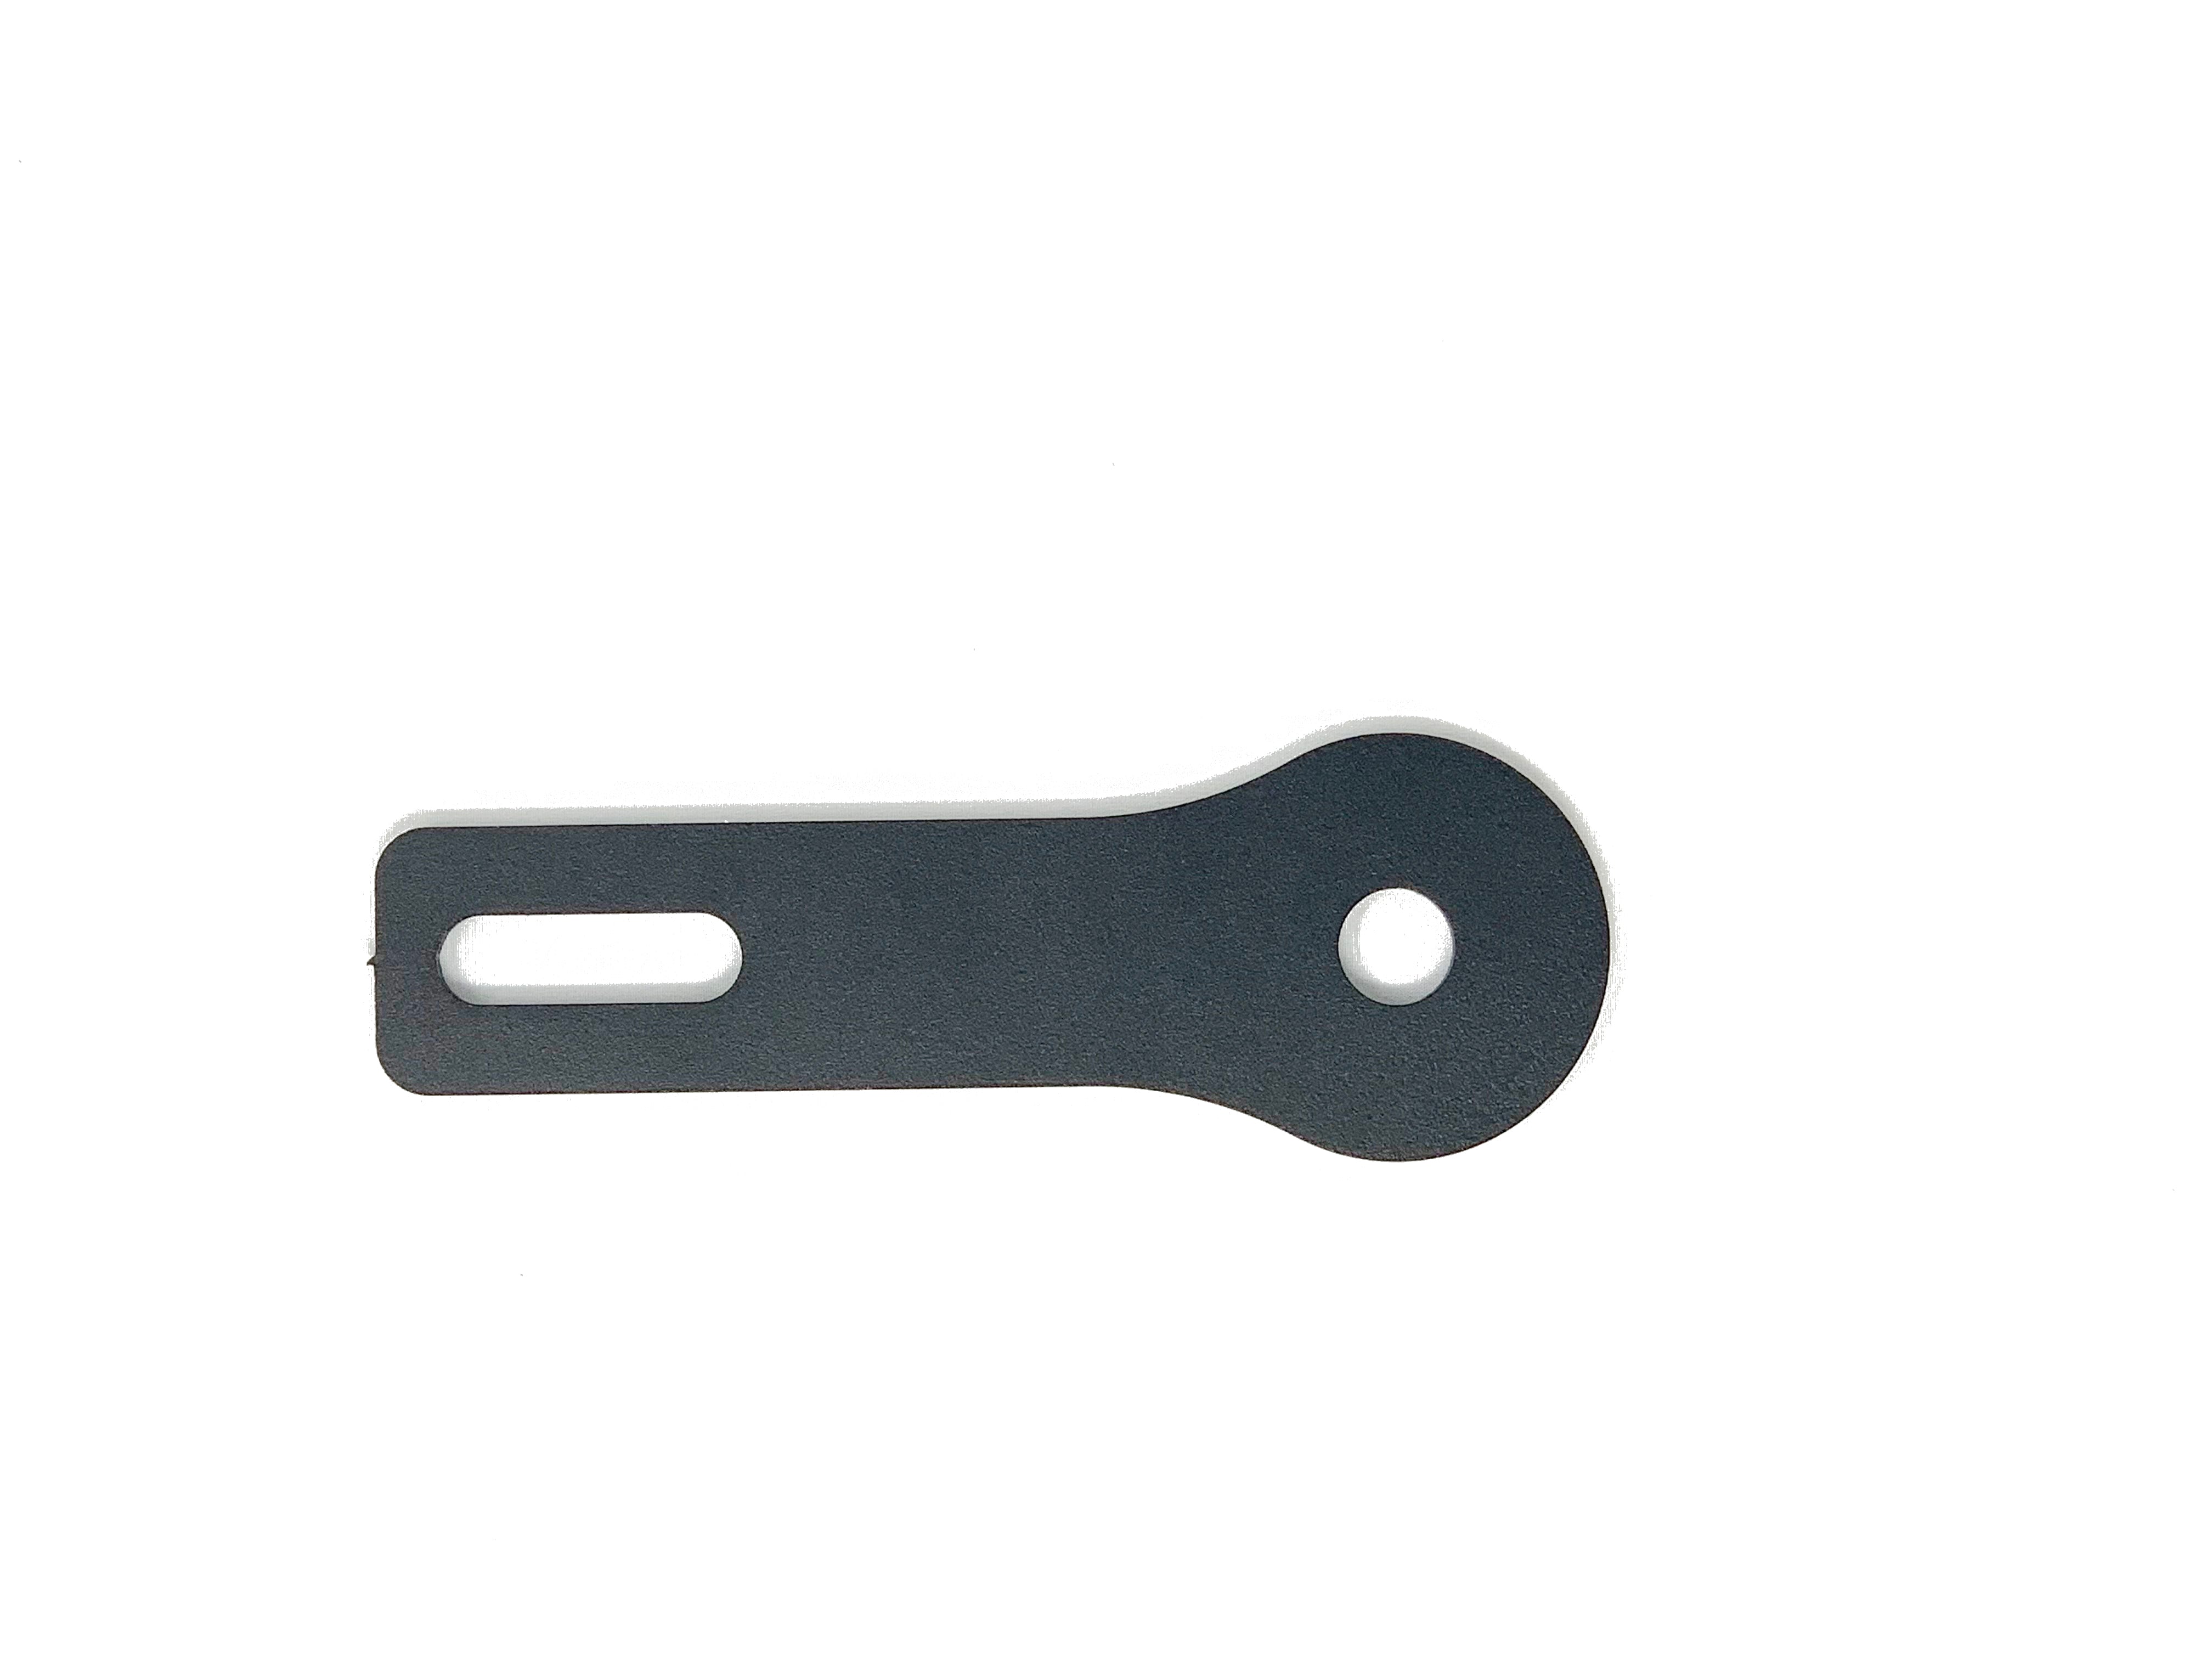
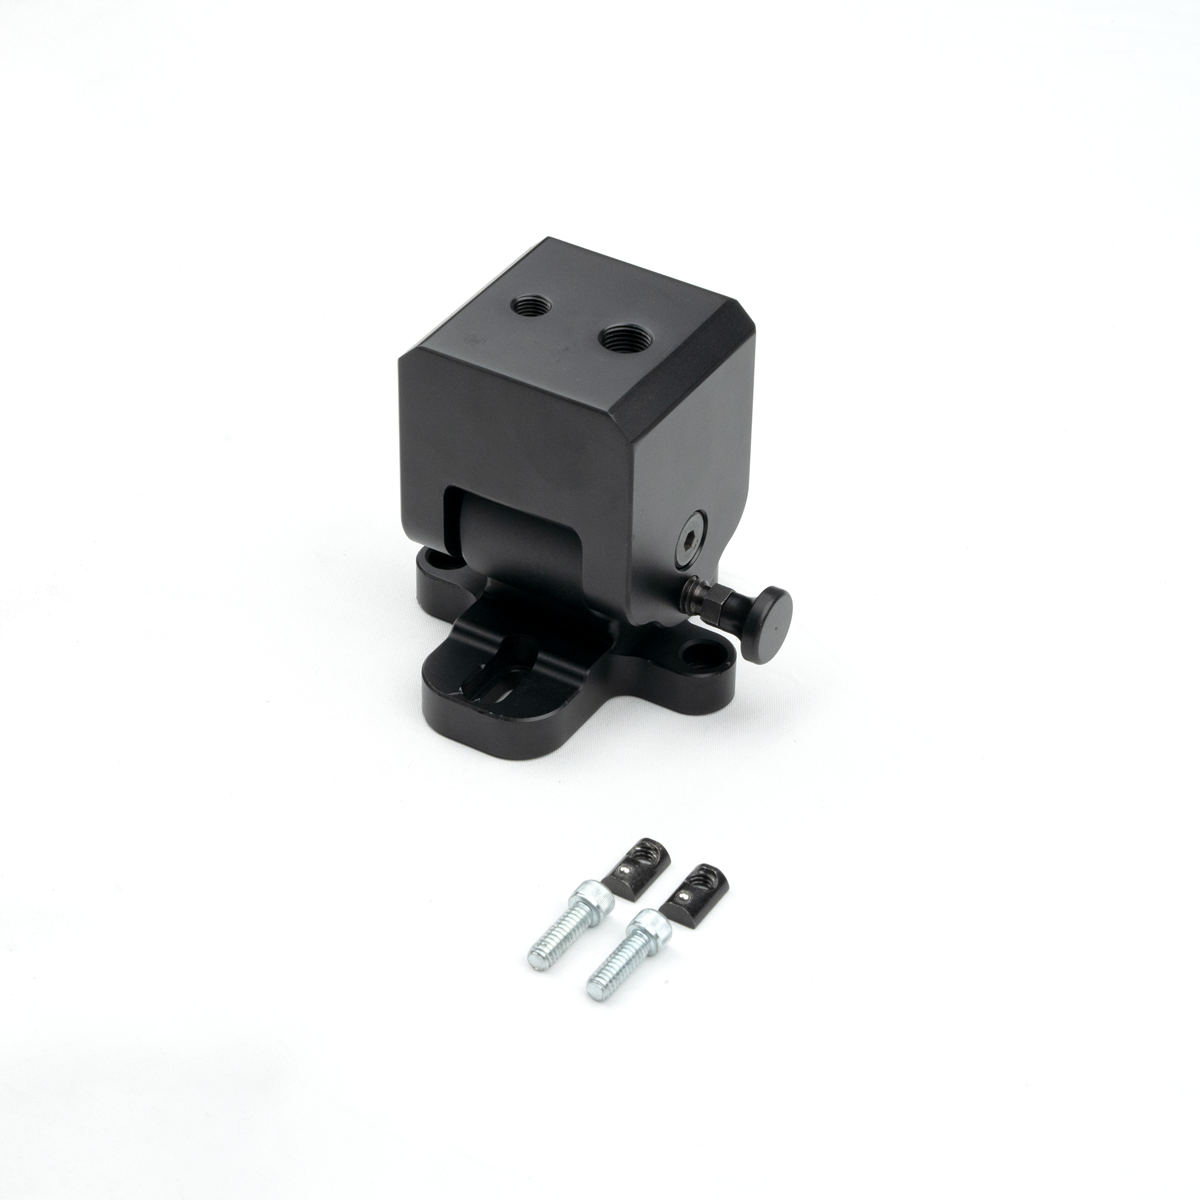
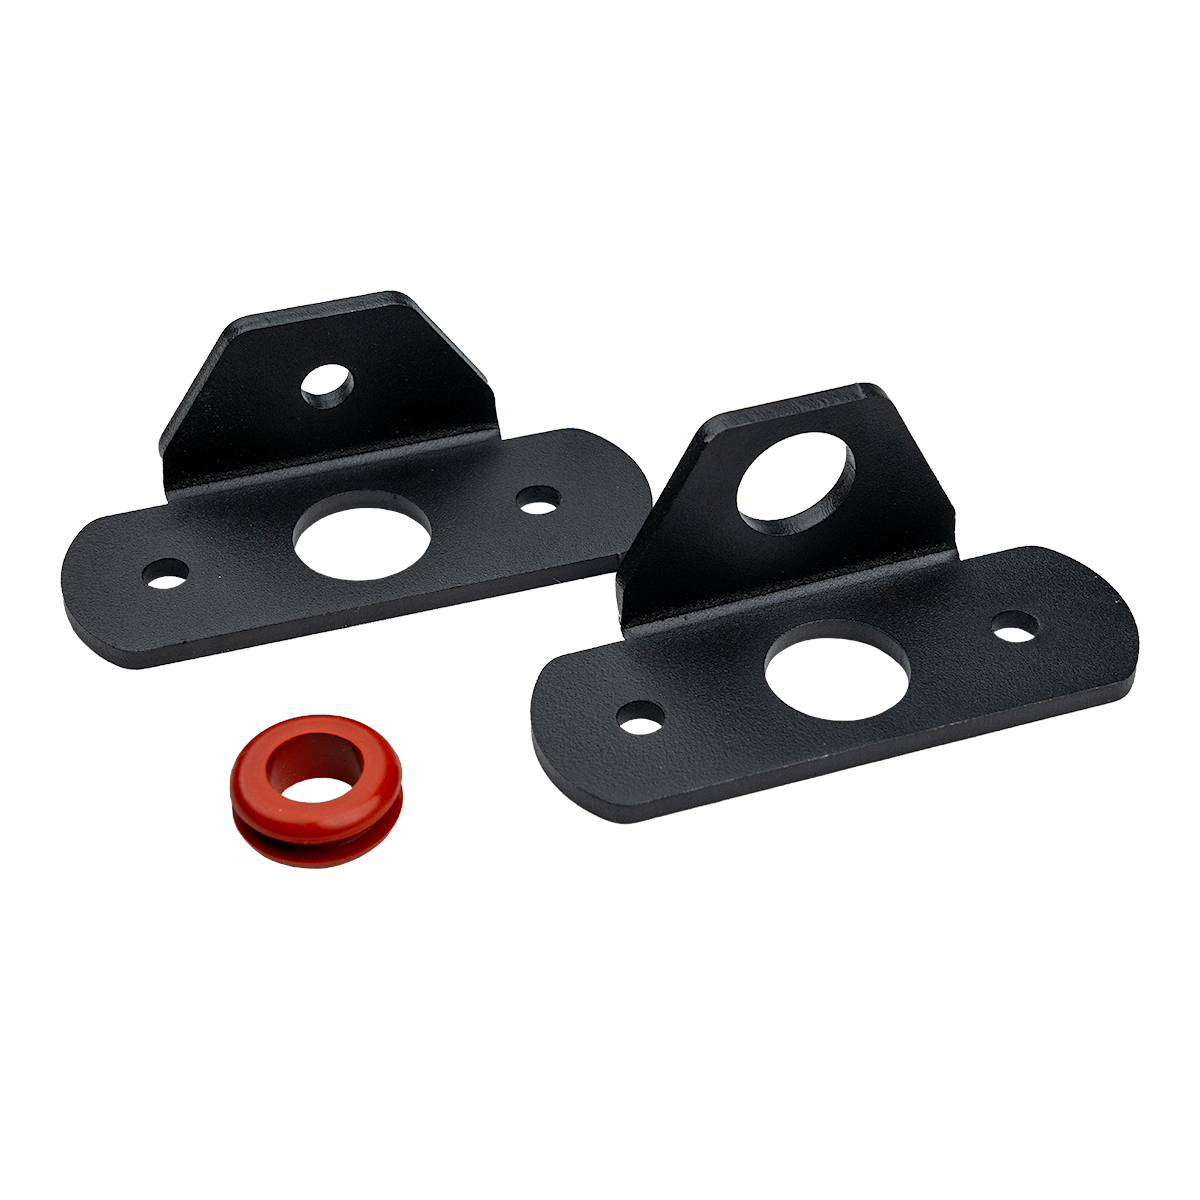
Your radio's range lives or dies at the mount. This collection covers antenna mounts — hood-ledge brackets, cowl mounts, and rear hatch hard points — that put a GMRS or ham antenna where it can actually work without drilling your roof. Everything is filtered by year, make, and model, so the bends and bolt holes match your truck, not "most trucks." It's a small collection on purpose; if your rig isn't covered, ask us before you settle for a universal bracket.
Guides for this category
Antenna Mounts FAQs
How do I route the antenna cable into the cab cleanly?
Follow paths the factory already uses: firewall grommets, existing harness channels, and door or tailgate seal gaps that close without pinching. Coax hates abuse — avoid sharp bends, crush points at hinges, and heat from the exhaust side, and route it away from high-current wiring to keep noise out of the radio. Secure the run every foot or so, and leave a small drip loop before the connector.
What is an NMO mount and why does it matter?
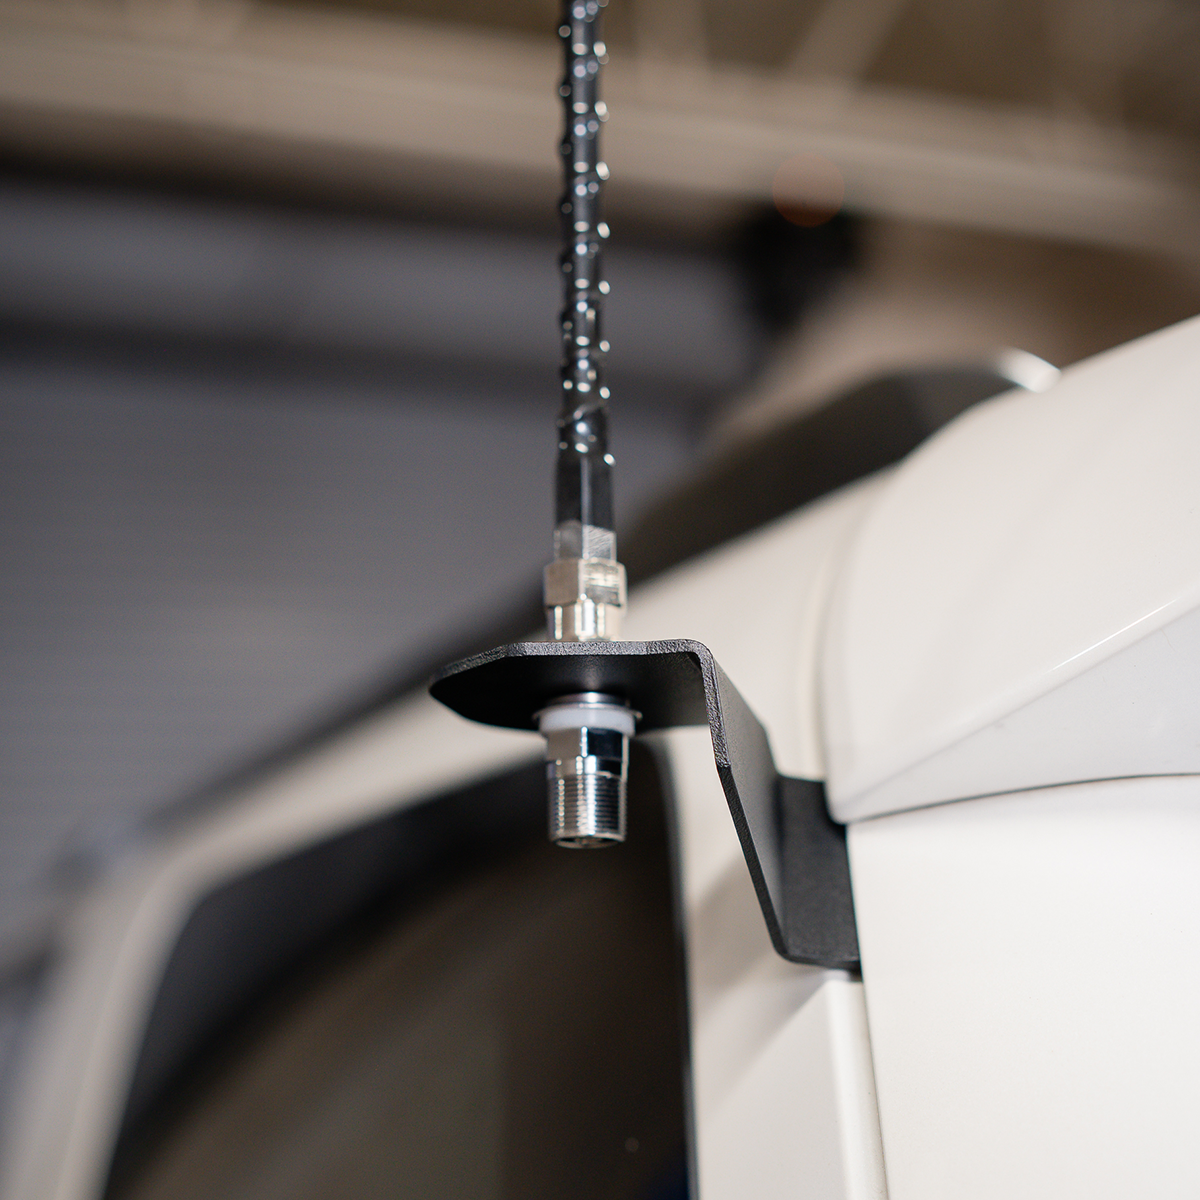
NMO is the standard threaded antenna base used across most GMRS, ham, and commercial antennas. Buy a bracket and mounting hardware built around NMO and you can swap antennas in seconds — a short stubby for tight trails, a taller whip for open desert — without touching the bracket or coax. It keeps one purchase from locking you into one antenna forever.
Do I need a ground plane for the antenna to work?
Most mobile antennas perform best with metal beneath them, which is one more reason placement matters. A mount over the hood or roof gives the antenna sheet metal to work against; a plastic-heavy corner of the vehicle gives it nothing. If your best mounting spot is compromised, run a no-ground-plane antenna designed for exactly that. Match the antenna type to the location, not the other way around.
Will a tall antenna clear garages, branches, and drive-throughs?
Only if you plan for it. Measure your rig's height with the antenna installed, and favor spring-base or fold-over hardware so branch strikes flex instead of snap. Plenty of people run a short antenna for daily driving and swap in a longer whip for trips — with an NMO base that takes seconds. Skip automated car washes with any antenna installed.
Will an antenna mount damage my paint?
A properly designed vehicle-specific mount shouldn't. Good brackets bolt to existing fastener locations, sit against the panel with clean finished edges, and are powder-coated so bare metal never rubs your finish. Damage comes from flimsy universal brackets that flex and vibrate against the body. Torque the hardware, check it again after your first washboard stretch, and it'll stay put and stay quiet.
