Morimoto XB Gen II Tails on the 4Runner - WOW!
Taillights always get the short straw, it seems. I'm here to prove that the right taillight can make ALL the difference in safety, visibility, and aesthetics.
With the launch of the all-new 6th Gen, you can see Toyota seemingly grabbed a bit of a design inspiration from Morimoto. Follow along as I install the XB Gen II tails in my 2017 Limited T4R.
Tools needed:
-10mm socket driver (deepwell)
-plastic trim removal tool
-2010-2024 (5th Gen) 4Runner.

1. Take your trim tool and carefully pry the plastic cover behind the factory jack access point (opens front to back).


2. Disconnect the factory wiring harness and locate the two taillight studs with 10mm nuts.

3. Remove said 10mm nuts. The taillight will still be clipped into place and will NOT fall out.

4. Pull rearwards on the (old) taillight. This will take some force - make sure you pull back towards the rear of the vehicle, not out to the side. (note, I am removing a set of Alpharexx Luxx)

5. Inspect and clean the quarter panel before installation of the new lights

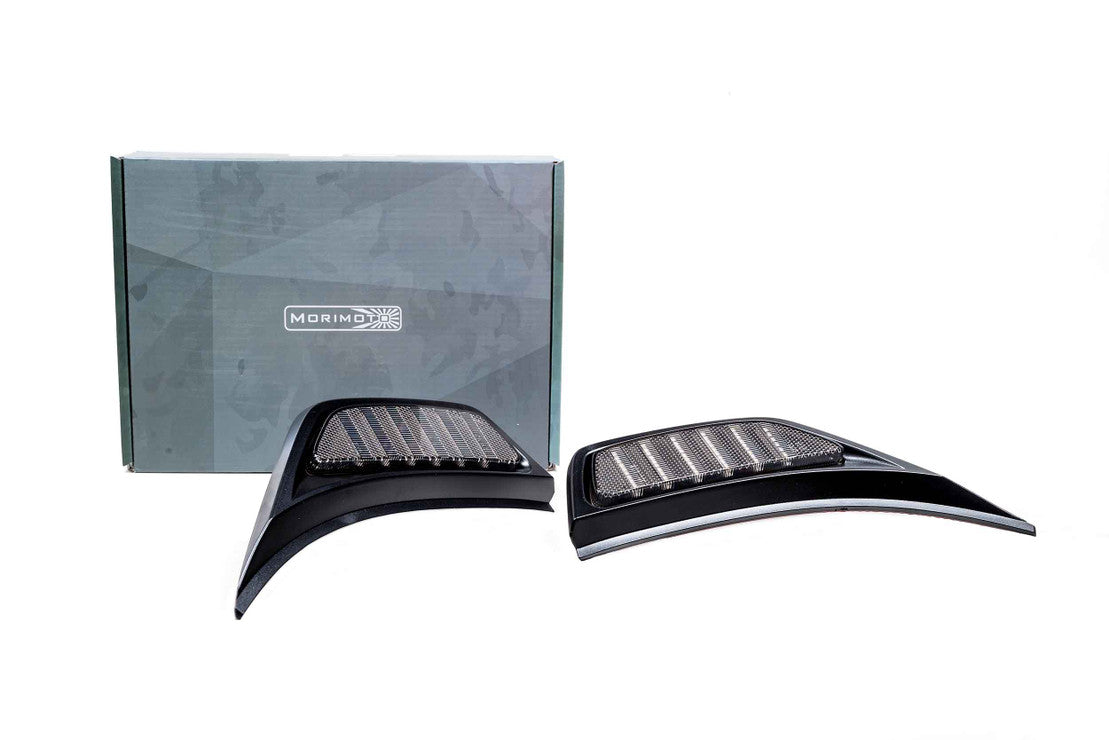
6. Remove shiny new taillights from their carton

7. Press into place the same way you removed the old tails and remove plastic film

8. Reconnect wiring harness and tighten 10mm nuts to spec. There will be extra wiring harness and hookups on the new lights (designed for Morimoto Brake Booster). No need to install at this time.
9. Replace plastic cover and enjoy the impressive night lights.
Reverse lights:
Sequential Blinker:
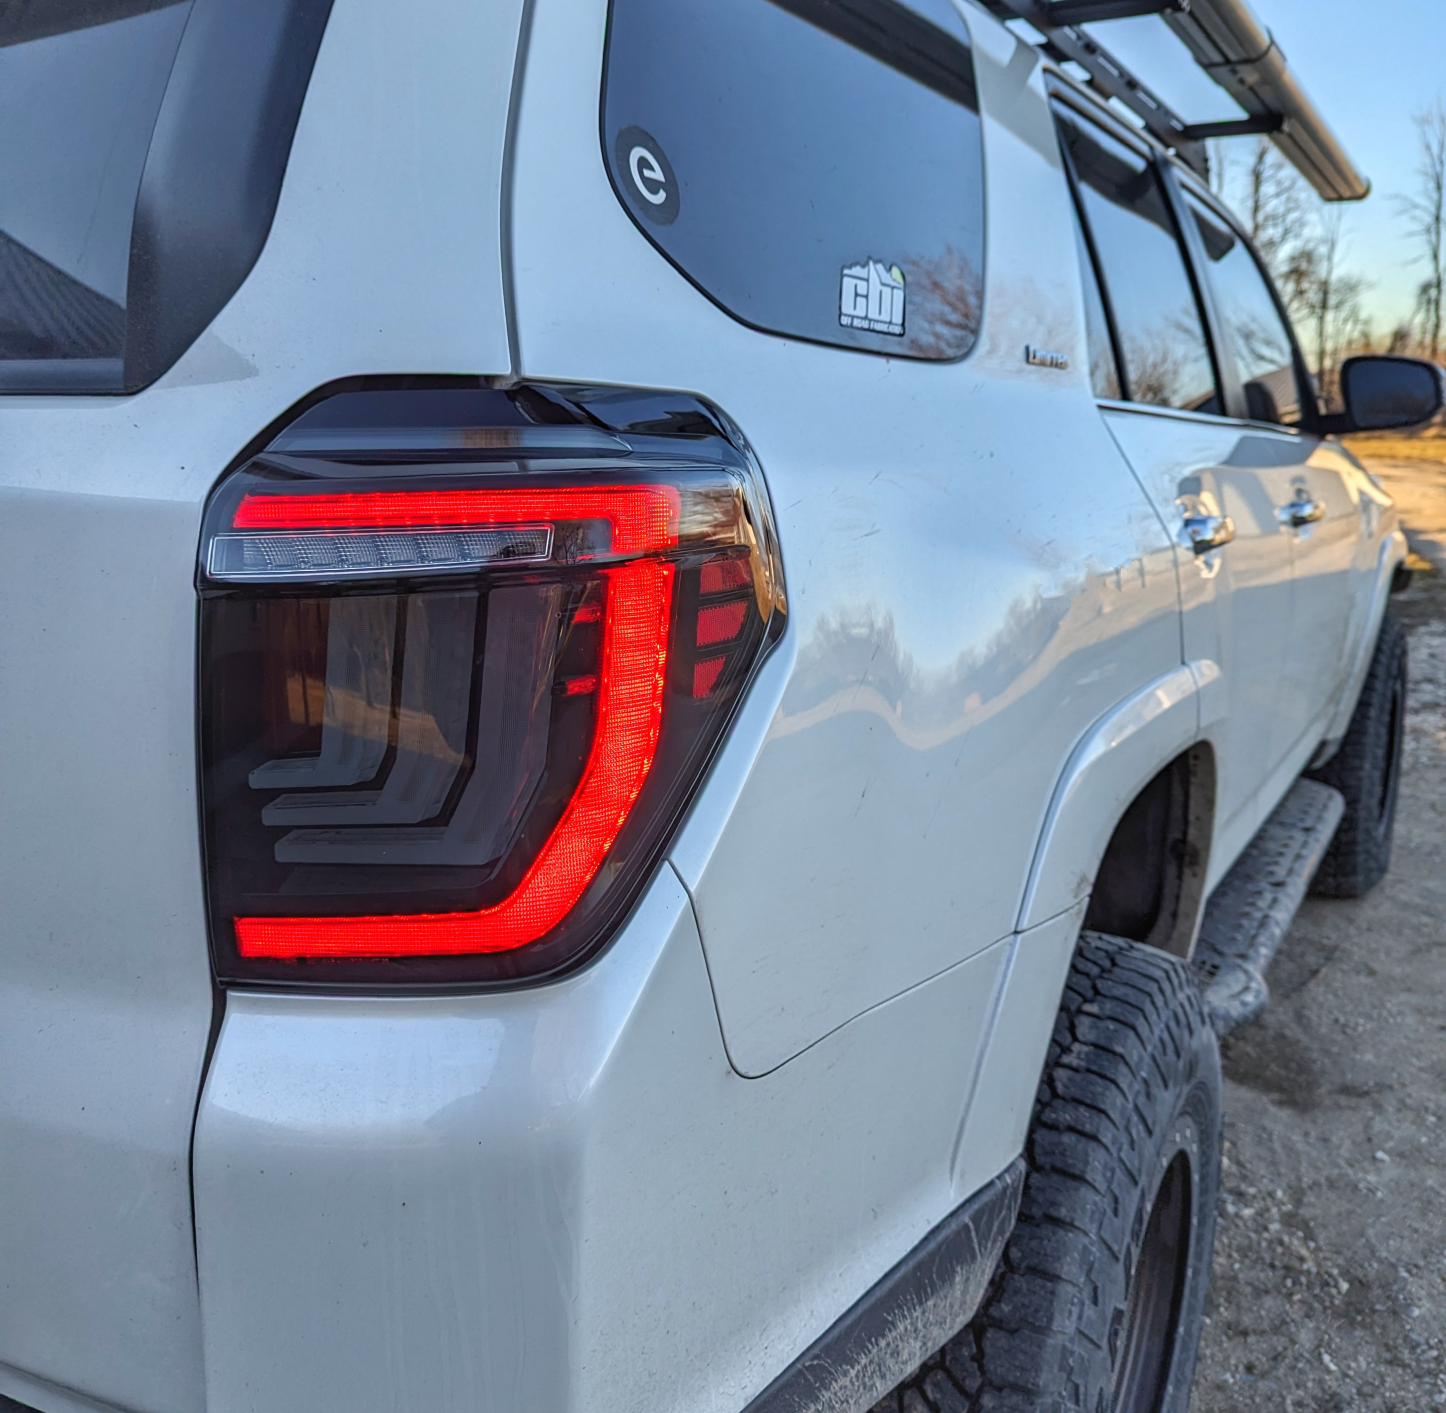
These tails increased my brake, blink, and reverse visibility significantly and are one of the best upgrade you can do to the back of your Runner. They come in regular red and smoked (pictured).
Compared to AlphaRexx Luxx:


